How to Create a Digital Menu for Your Restaurant
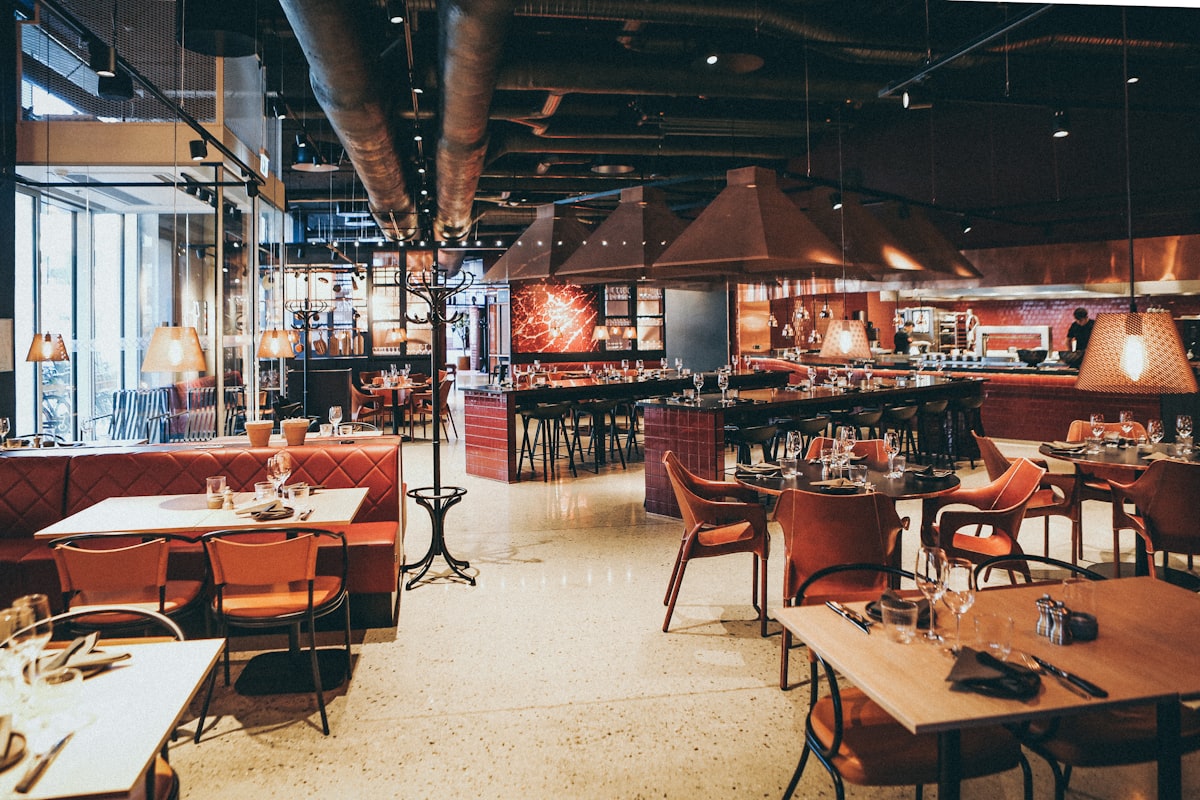
In today's digital-first world, having a QR-accessible menu isn't just convenient—it's expected by customers. Whether you run a cozy cafe, a bustling restaurant, or a food truck, a digital menu can streamline your operations and enhance the dining experience. This guide will walk you through creating your first digital menu from scratch.
Why Your Restaurant Needs a Digital Menu
Before diving into the how-to, let's understand why digital menus have become essential for modern restaurants. The shift accelerated during recent years, but the benefits extend far beyond contactless dining.
- Instant updates: Change prices, add specials, or remove sold-out items in real-time
- Cost savings: No more reprinting menus every time something changes
- Better hygiene: Customers use their own devices to view your menu
- Enhanced experience: Add photos, descriptions, and dietary information easily
- Analytics insights: Track which items customers view most often
Step 1: Plan Your Menu Structure
Start by organizing your menu items into logical categories. Think about how your customers browse your current menu and what makes sense for your cuisine. Common categories include appetizers, main courses, desserts, and beverages, but don't be afraid to get creative with names that match your brand.
Step 2: Gather Your Menu Content
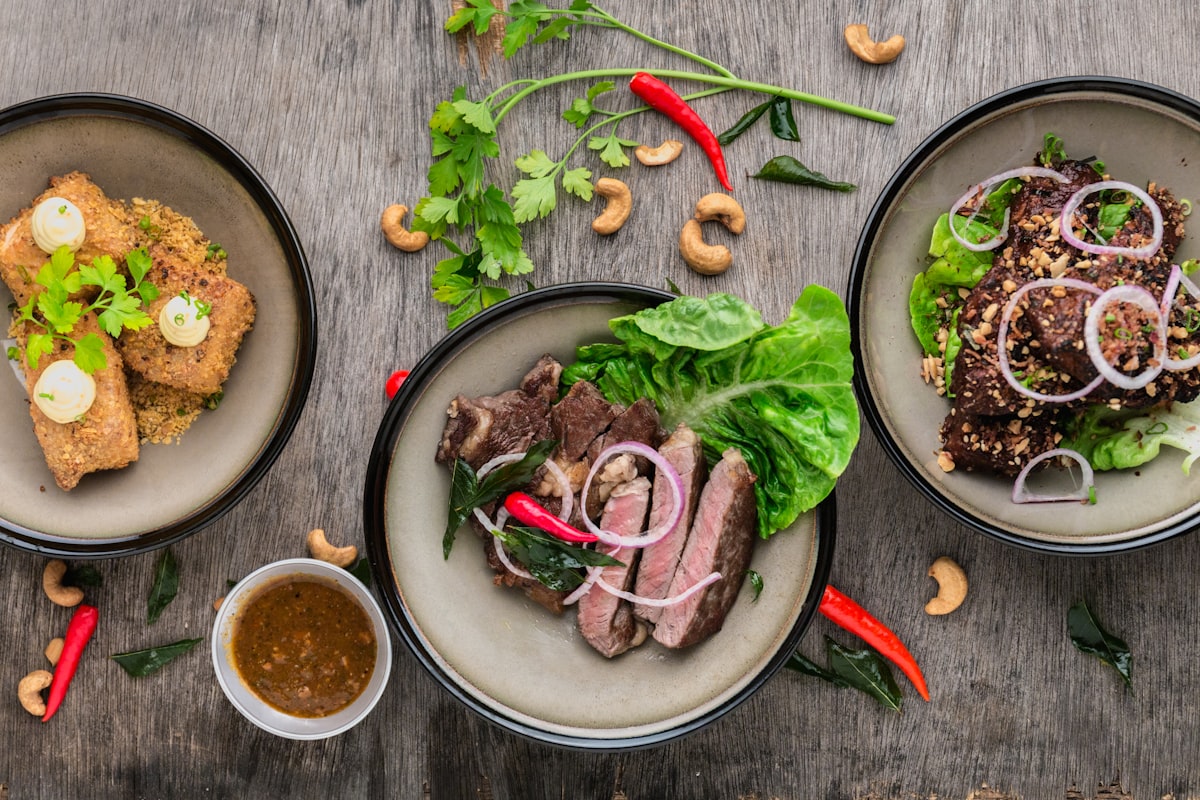
Before you start building, collect all the information you'll need for each menu item. This includes item names, descriptions, prices, and any dietary information like vegetarian, vegan, or gluten-free options.
- Item names that are clear and appetizing
- Descriptions that highlight key ingredients and preparation methods
- Accurate pricing for all items and any variations
- Allergen information and dietary labels
- High-quality photos (optional but highly recommended)
Step 3: Choose Your Digital Menu Platform
There are many digital menu solutions available, but you want one that's easy to use, looks professional, and doesn't require technical expertise. Look for platforms that offer customization options to match your restaurant's branding, mobile-optimized viewing, and simple editing tools.
Step 4: Build Your Digital Menu
Once you've chosen your platform, it's time to start building. With NEMENU, the process is straightforward: sign up, create your first menu, add your categories, and then populate each category with your items. The drag-and-drop interface makes organizing everything intuitive.
Adding Categories
Start by creating your main categories. Give each one a clear name and optionally add a brief description. You can always reorder categories later, so don't stress about getting the perfect order on your first try.
Adding Menu Items
For each item, enter the name, description, and price. If an item comes in multiple sizes or variations (like small, medium, large), you can add those as variants. Don't forget to mark any dietary information—customers appreciate knowing their options at a glance.
Step 5: Customize Your Menu's Appearance
Your digital menu should feel like an extension of your restaurant's brand. Customize colors, fonts, and add your logo to create a cohesive experience. If you have professional food photography, this is the time to add those mouthwatering images.

Step 6: Generate and Display Your QR Code
Once your menu is ready, generate your unique QR code. This code links directly to your digital menu and can be scanned by any smartphone camera. Print and place QR codes on tables, at the entrance, on receipts, or anywhere customers might want to browse your offerings.
- Table tents or stands for easy scanning while seated
- Window decals for walk-by customers
- Business cards with your QR code for easy menu access
- Social media posts to share your menu online
Step 7: Test and Launch
Before going live, test your menu on different devices. Check that all items display correctly, prices are accurate, and the overall experience is smooth. Have a few friends or family members scan the QR code and provide feedback.
Keeping Your Menu Updated
One of the biggest advantages of a digital menu is how easy it is to update. Seasonal specials, price changes, or sold-out items can be reflected instantly. Make it a habit to review your menu regularly and keep it current.
Creating a digital menu for your restaurant doesn't have to be complicated. With the right platform and a bit of preparation, you can have a professional, mobile-friendly menu up and running in no time. Your customers will appreciate the convenience, and you'll love the flexibility.


