One Catalogue, Six Menus: How Placements Give Every Venue Its Own Price
One account, five venues — each with its own menu, hours, and pricing rules
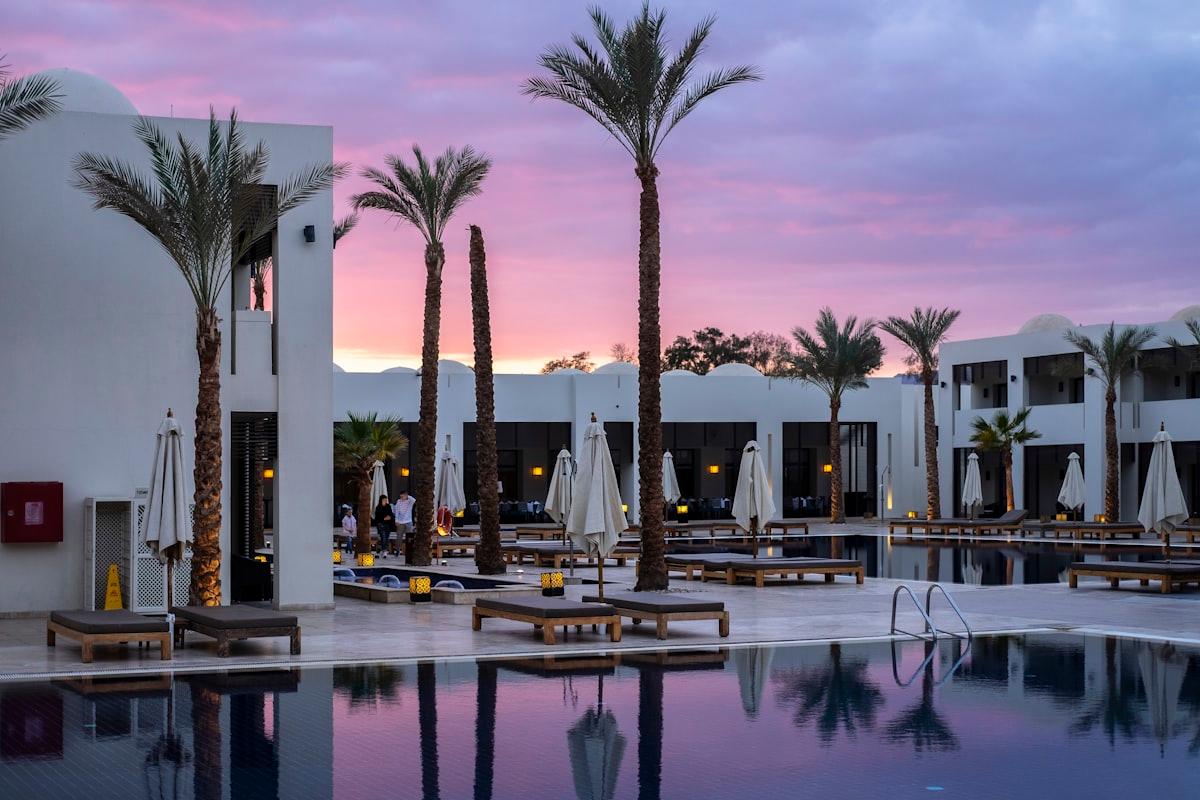
Azure Bay All-Inclusive Resort
5 venues · 1 NEMENU account
- 🍍
Frozen Piña Colada
Pineapple, coconut cream, rum
Included - 🧡
Aperol Spritz
House classic — all afternoon
Included - 🍤
Grilled Shrimp Skewers
Garlic, lemon, chili
Included - 🍾
Dom Pérignon
Celebration bottles — premium
€320
Switch venues above — each one has its own menu, hours, pricing, and language
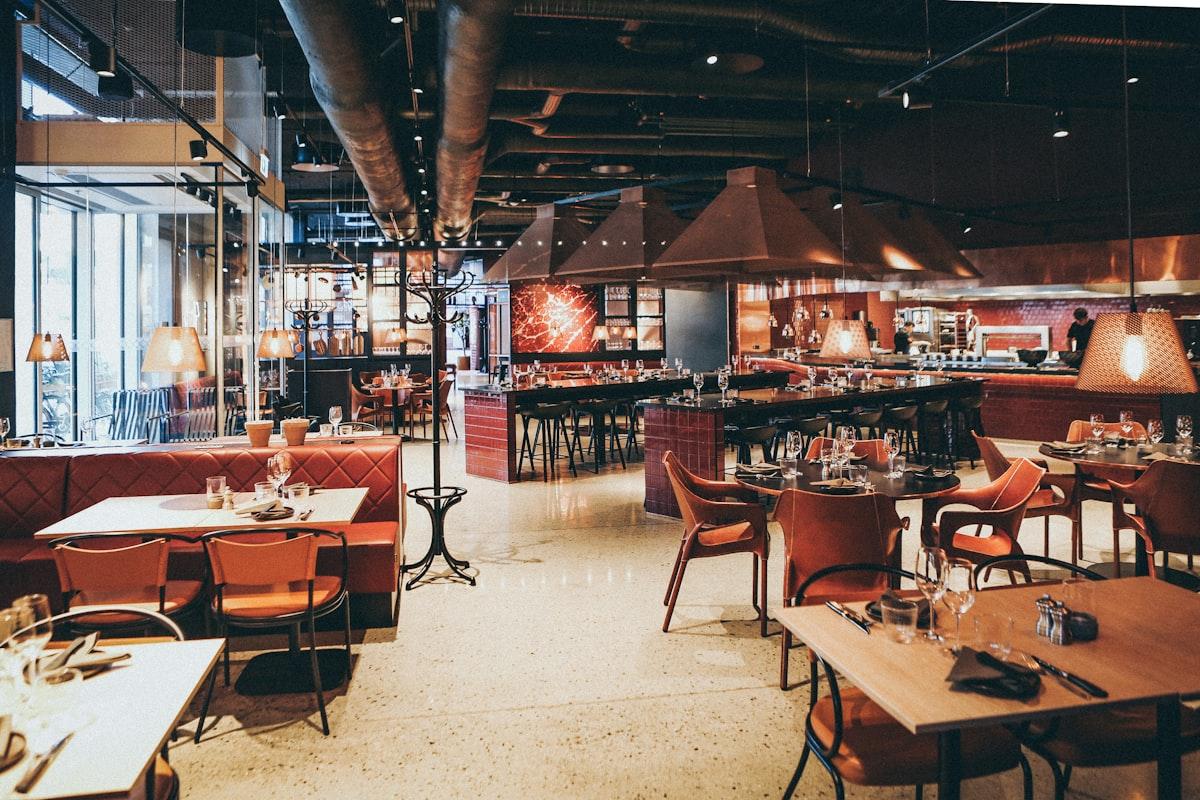
Picture the house burger at a hotel with several outlets. At the fast food corner it is 18, served in a paper wrap. In the restaurant it is 32, plated with hand-cut fries and a glass of red suggested underneath. Same patty, same bun, same allergens, same photo. If you run a shared menu catalogue for multiple venues the way most tools do, you end up with two burgers, and the day the kitchen swaps the cheese you fix the allergen line on one and forget the other. NEMENU avoids that with a simple split: the item lives once, and each venue holds a placement that can carry its own price. This tutorial walks through building the catalogue, placing items, overriding prices and moving whole menus in bulk. The demo below shows the guest side of the result: several venues under one property, each with a menu that is clearly its own, even where the same dish appears on more than one.
The Model
Three things exist in a multi-venue NEMENU account, and it is worth being precise about where each one lives, because it decides what you edit once and what you edit per venue.
| Lives where | Examples | Edited once or per venue |
|---|---|---|
| Global catalogue (/admin/products) | Item name, photo, description, allergens, dietary tags, extras | Once. Every venue that places the item sees the change. |
| Venue (Settings, Locations) | Categories, template, branding, address, opening hours, WiFi, WhatsApp, QR style | Per venue. Nothing here leaks to another venue. |
| Placement (an item on a venue's menu) | Which category it sits in on that venue, its position, its price override | Per venue. The same item can be placed on six venues with six prices. |
Read the middle column of the first row again: the price is not there. A catalogue item has a base price, but the price a guest sees at a given venue comes from the placement. That is the whole trick. Categories are also worth a second look, because they are per venue rather than global. The pool bar can file the burger under Grill while the restaurant files it under Mains, and neither sees the other's structure.
Step 1: Build the Catalogue
Start in Products (/admin/products). This is the one list of everything your property sells, regardless of where. Create the burger once: name, photo, description, allergens, dietary tags, and any extras such as add bacon or swap to a plant-based patty. Give it a sensible base price, which is what a venue will show if you never override it. Catalogue categories help you keep this list organised (Burgers, Soft Drinks, Spirits) and they double as a filter when you place items later, but they are not the categories your guests see.
If you are migrating from paper or from a single-venue account, the fastest route is to import the fullest menu you have (usually the restaurant's) into the catalogue, then tidy it. Every venue will draw from this list, so an hour spent on good photos and complete allergen lines here pays off six times.
Step 2: Place Items on a Venue
Open a venue's menu editor and create the categories the guest will see at that venue, for example Grill, Snacks and Drinks for the pool bar. Inside a category, use Add products to this menu. The picker does not show what is already on this venue; it shows the global catalogue and marks the items that are already placed here, so a brand new venue sees the full catalogue rather than an empty list. Filter the picker by catalogue category to jump straight to Burgers or Soft Drinks, tick what the pool bar sells, and add. Each tick creates a placement.
Sometimes the item does not exist yet. The pool bar wants a frozen mango daiquiri that no other outlet sells. You do not need to leave the venue and go to Products. Create the product straight from the venue's menu: it is created in the catalogue like any other item and placed on this venue in one move. Later, if the lounge bar wants the same daiquiri, it is already in the catalogue waiting to be placed.
Step 3: Override the Price per Venue
Now the burger. With the burger placed on the fast food corner, open that placement and set the price to 18. Go to the restaurant's menu, open the same burger's placement there and set it to 32. Both venues still point at one catalogue item. Change the photo in Products and both menus show the new photo. Change the allergen line and both update. Change the price on the corner's placement and the restaurant's 32 does not move.
A placement with no override simply shows the catalogue base price, so for the items that cost the same everywhere (still water, espresso) you do nothing. Override only where the same dish different price per location rule actually applies, which keeps the list of exceptions short and easy to audit.
Bulk Moves
Placing items one by one is fine for a pool bar with twenty lines. For a full restaurant menu, or for a new venue that sells most of what another one sells, two tools in the venue's menu editor do the heavy lifting.
Import from catalogue has three modes. Categories and products recreates your catalogue as this venue's menu, structure and items together; use it for a venue that sells nearly everything, then delete what it does not. Categories only copies the structure and leaves the menu empty until you add products, which suits a venue where you want the same headings but a hand-picked selection. Products only drops products into a category you already have on this venue, so you can keep the venue's own category names and pull in a batch of items under one of them. In all three modes every imported item becomes a placement, so per-venue pricing still works afterwards.
Copy a menu from another location does what it says: pick a source venue and its categories and placements are copied onto this one. This is the quickest way to open a second pool bar or a seasonal terrace that mirrors an existing outlet. After the copy, the two venues are independent, so the terrace can have its own prices and drop the items it does not serve without affecting the original.
What Changes Ripple Where
Because the model is explicit, the ripple rules are short. Anything on the catalogue item (name, photo, description, allergens, dietary tags, extras) changes everywhere the item is placed. Anything on the placement (price override, category on that venue, position) changes on that venue only. Anything on the venue (categories, template, hours, contact details) changes on that venue only. Deleting a catalogue item removes it from every venue that placed it, so prefer removing the placement from one venue when only that outlet stops selling it.
Plan Requirement
Placements, per-venue price overrides, import from catalogue and copy venue menu all exist to serve more than one venue, and more than one venue is an Enterprise plan feature. Free and Pro accounts run a single location, where the catalogue and the menu are effectively the same list. If you are on Pro today, nothing is wasted: your products are already a catalogue, and upgrading adds venues that place from it. The multi-venue hotels page (/solutions/multi-venue-hotels) has plan details.
The Short Version
Create every item once in Products. Give each venue its own categories. Place items from the picker, or create them from the venue when they are new. Override the price on the placement where it differs. Use import from catalogue and copy venue menu to move whole menus at once. Edit the dish in one place and price it in six. For the wider hotel rollout that this sits inside, read Six F&B Outlets, One Property: A Digital Menu Playbook for Hotels (/blog/hotel-six-fb-outlets-digital-menu-playbook).